curling wand waves.
Let me begin this post by letting you know I’m severely lacking most skills in the hairstyling department. Braids? Nope. Blowouts? Nope. Basically every cool hair tutorial you find on Pinterest? Nope. I have pretty minimal hair doing skills which means you’re likely to find me sporting my natural curls or a messy bun on any given day. I’ve always been in awe of stylists who manage to whip my hair into shape with the help of a blowdryer and curling wand and one evening after browsing Amazon for far too long (dangerous!), I ended up with a curling wand of my own in my cart and a sense of optimism in my ability to somehow figure out how to use it. It arrived, I immediately opened up the box and rushed to the bathroom mirror to try and give it a whirl – the results? Awful. Back to the bun immediately.
My poor curling wand was instantly deemed impossible and sat in my bathroom closet for a few months while I felt jealous every time a friend showed up to dinner with amazing waves. Finally after the 100th person told me it was so easy, I decided to give it another try and with the help of some handy dandy YouTube videos and several rounds of trial and error, I figured things out for myself.
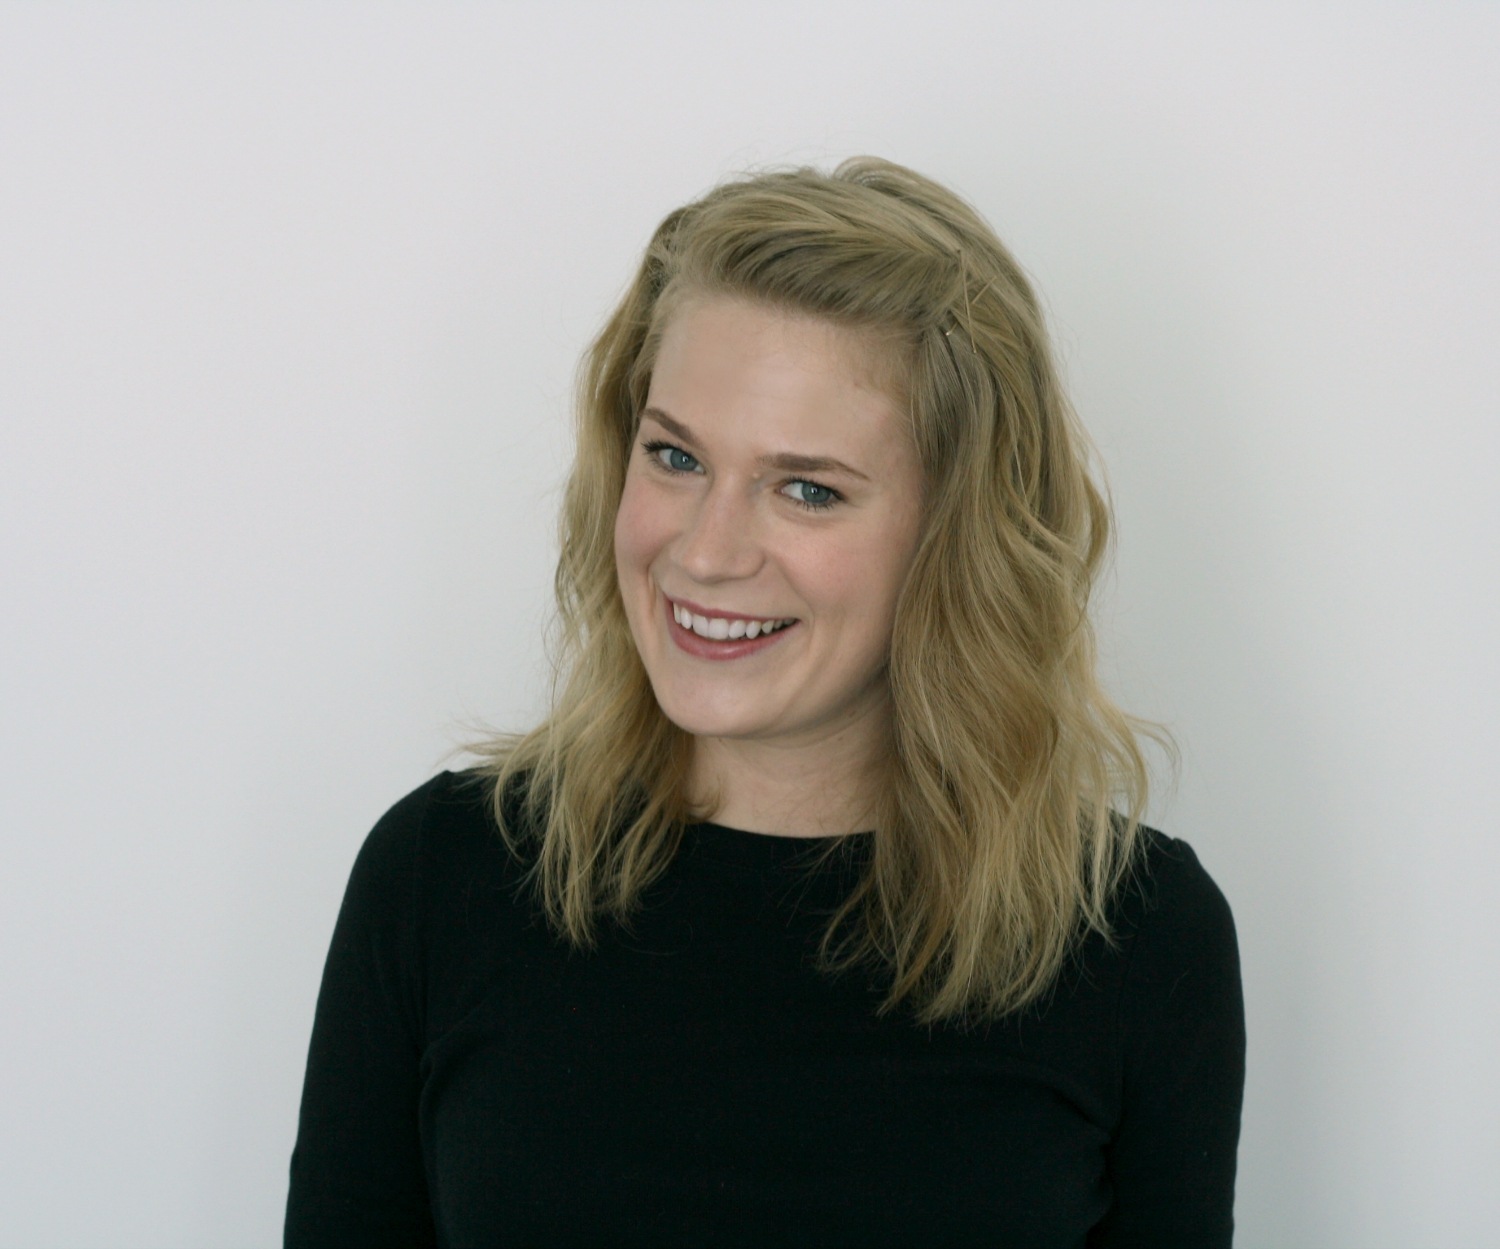
In case you’re also lacking in the hair skills department I wanted to break it down for you and assure you that if I can do it, anyone can. I’ve become obsessed with my curling wand because it’s hands down one of the quickest ways to do my hair and the heat smooths everything out along the way – a look at the easiest way to master curling wand waves:
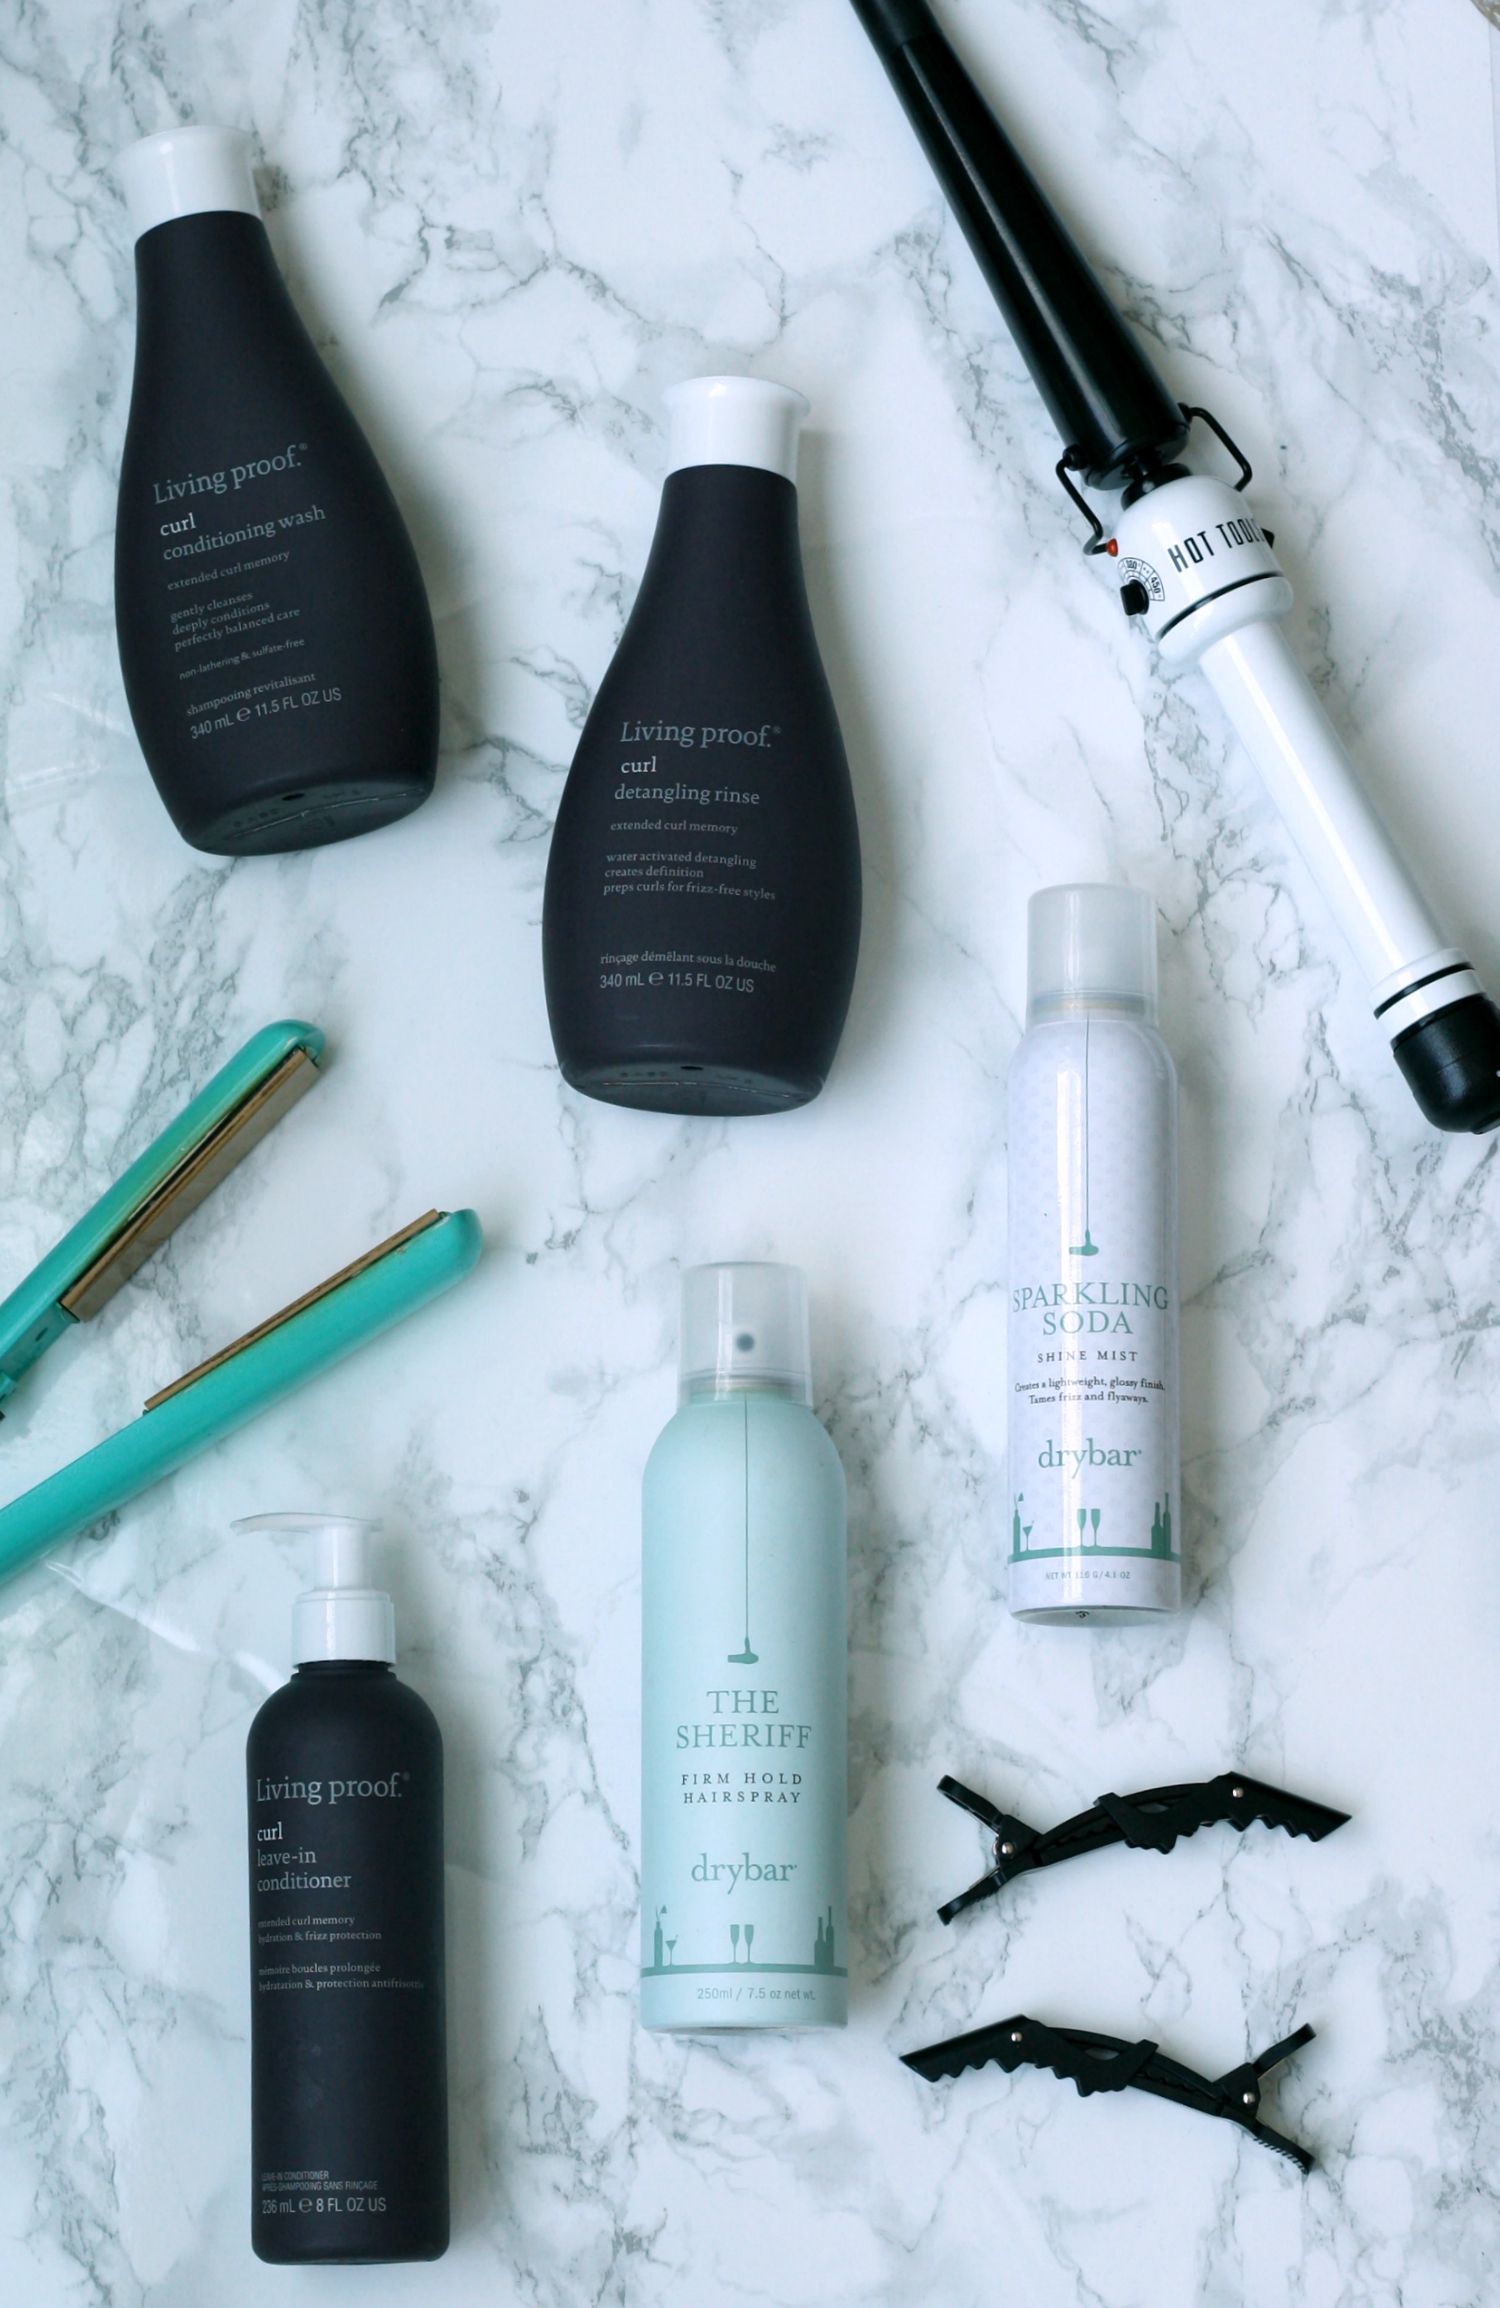
1. Start with the right shampoo and conditioner for your hair type – I recently figured this part out and have found that good hair days really do start in the shower. I’ve been loving Living Proof’s Curl Conditioning Wash & Curl Detangling Rinse because it’s ultra moisturizing which helps fight frizz off.
2. Towel dry hair and work a small amount of Living Proof Curl Leave-In Conditioner through hair – this will add an extra dose of moisture and also help hold your waves longer and make sure things don’t end up poufy.
3. Give your blowdryer a break and let your hair air dry (I’ll usually shower at night and sleep with damp hair, then style in the morning). Curling wand waves are also the best way to have awesome second or third day hair so if your hair is already dry, grab your curling wand and let’s freshen things up.
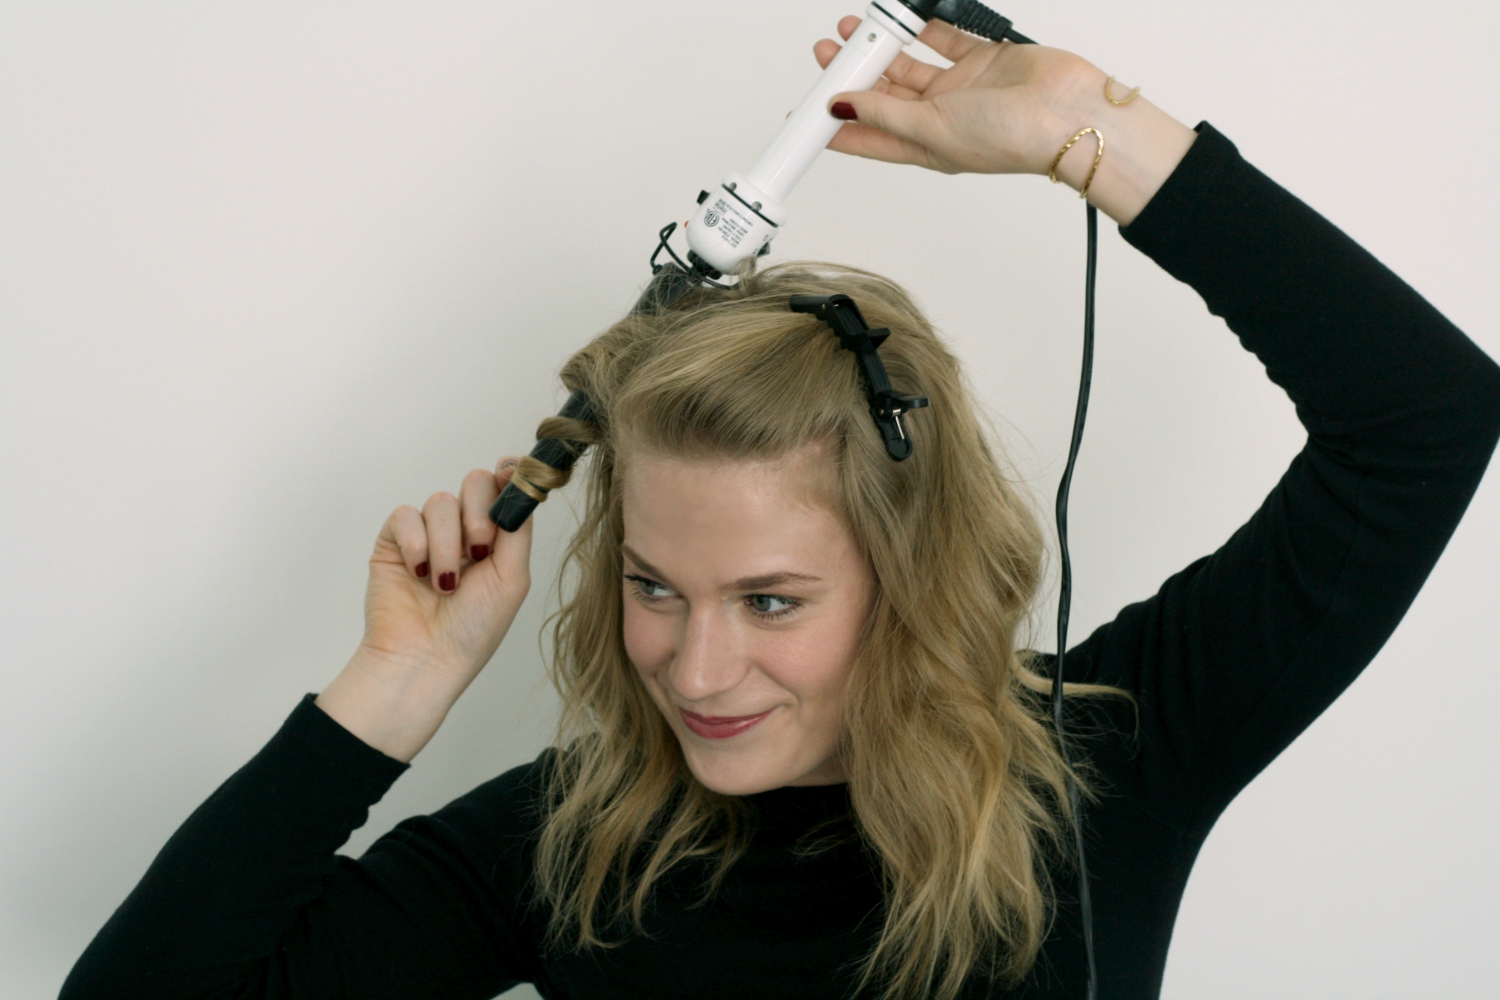
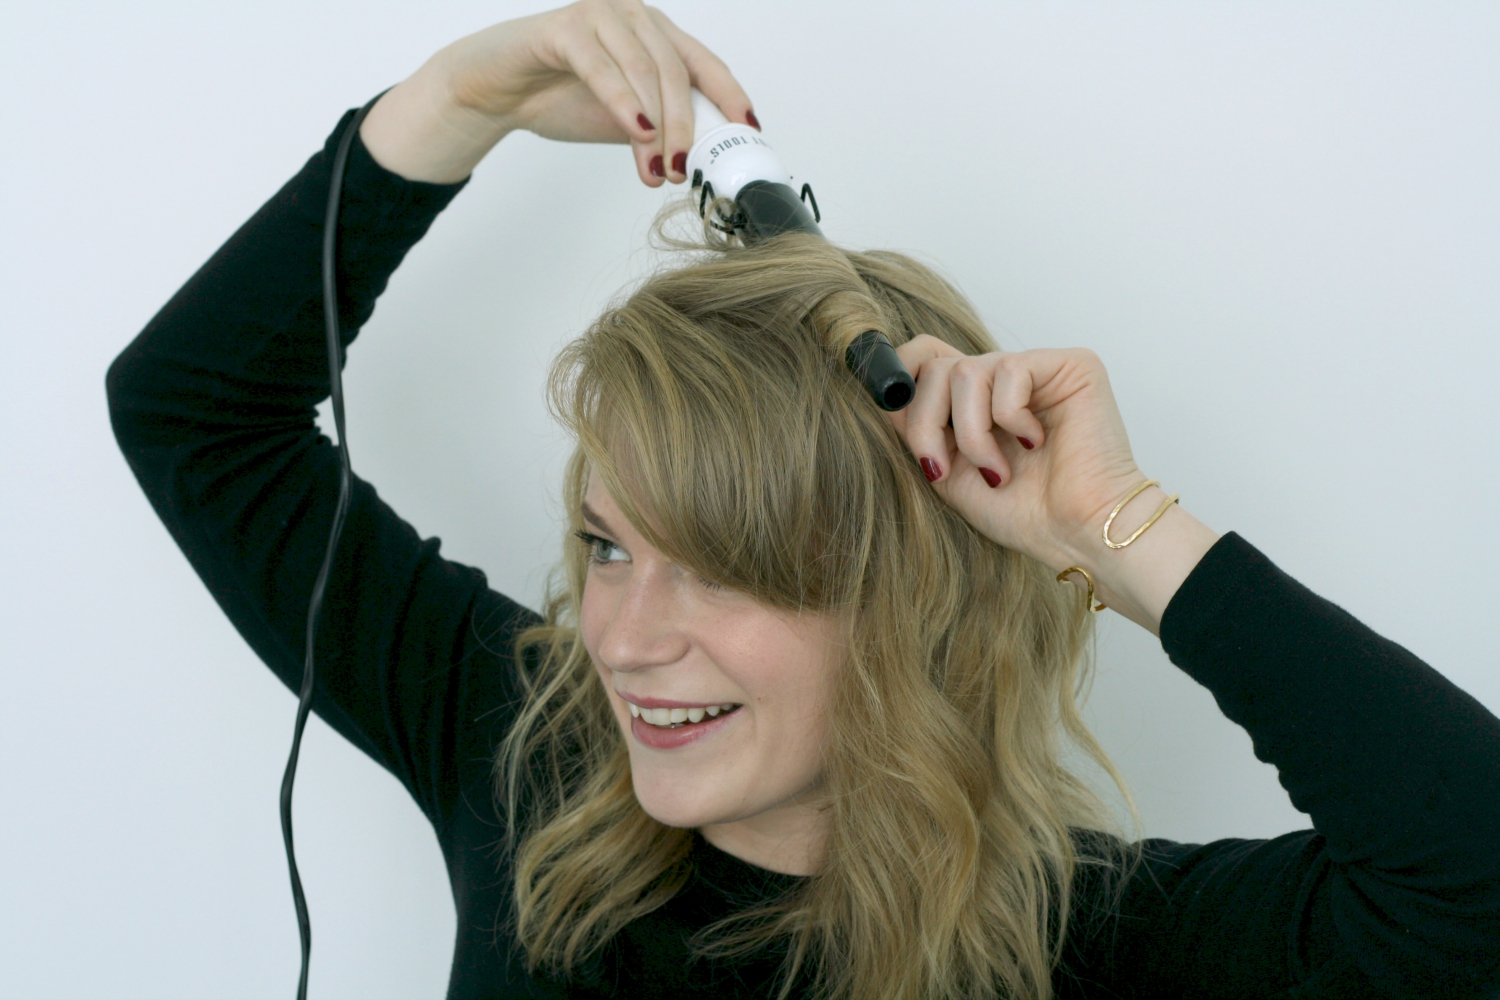
4. Holding your curling wand facing down, grab a 2″ section of hair and put your curling wand behind it and wrap the hair back around the wand. Hold each section for approximately 5 seconds and repeat until all pieces in that layer of hair have been curled. Use a clip to hold already curled sections out of the way and repeat on each layer of hair until all hair is complete. Switch sides and repeat the process.
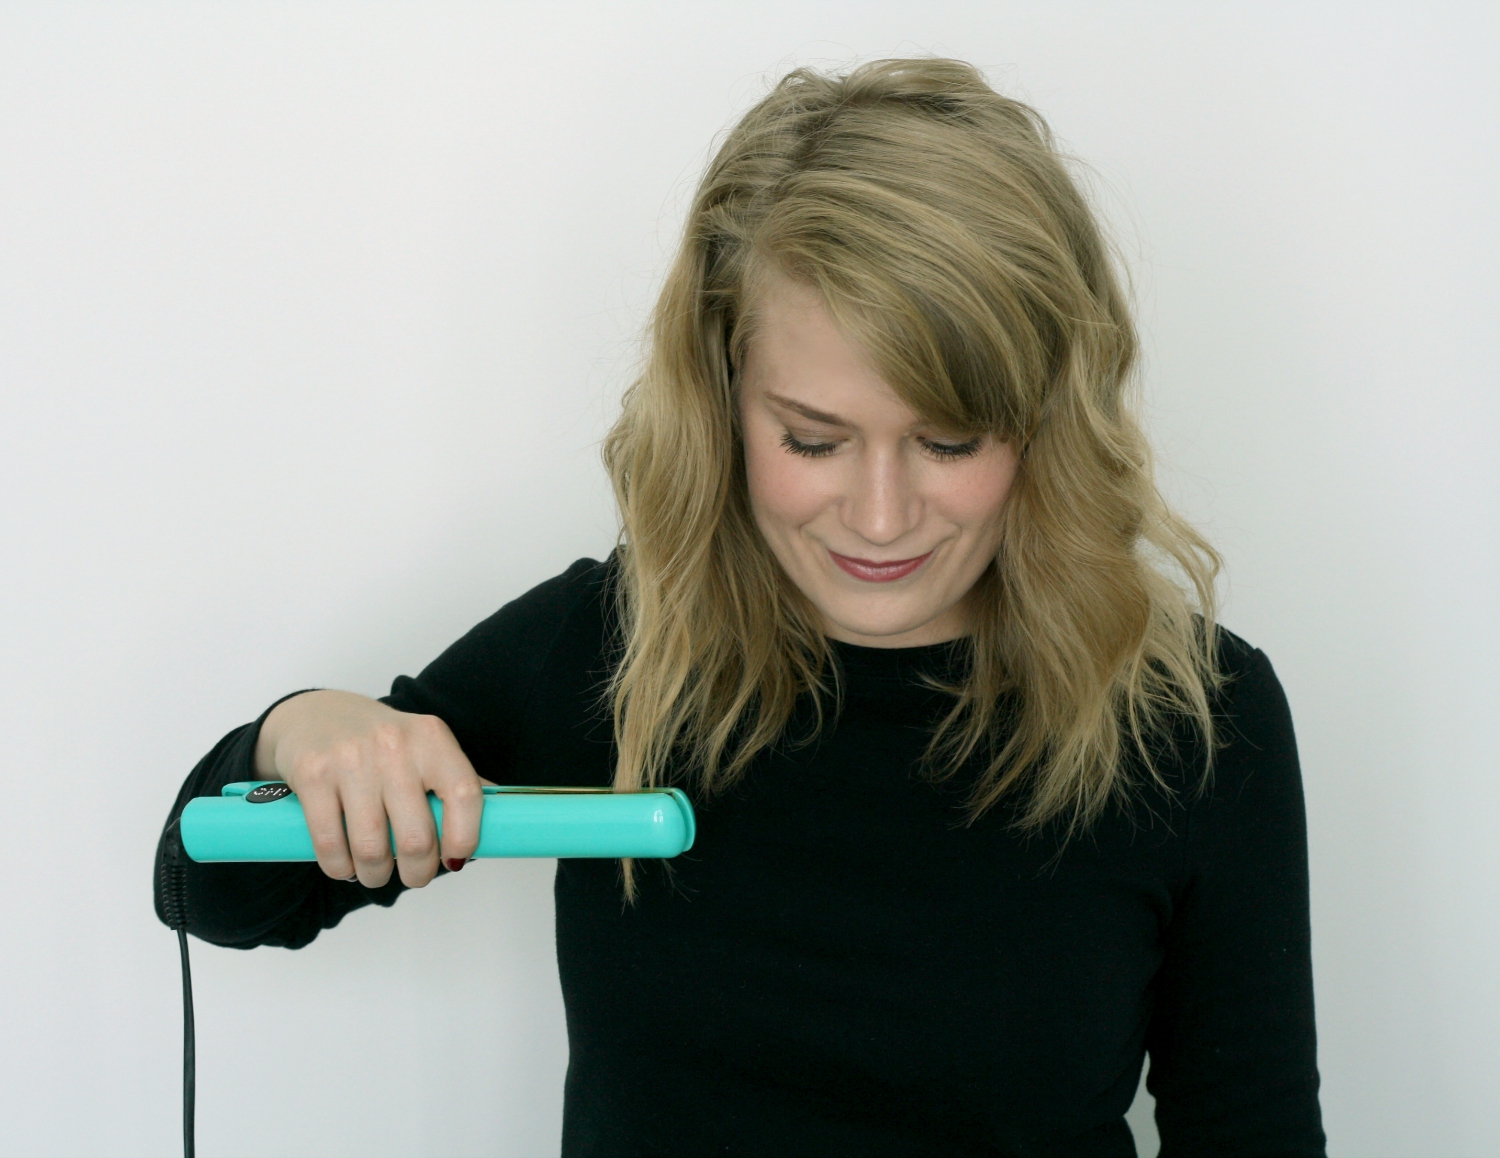
5. To create not so perfect waves, use a flat iron to straighten the bottom 1″ of your hair
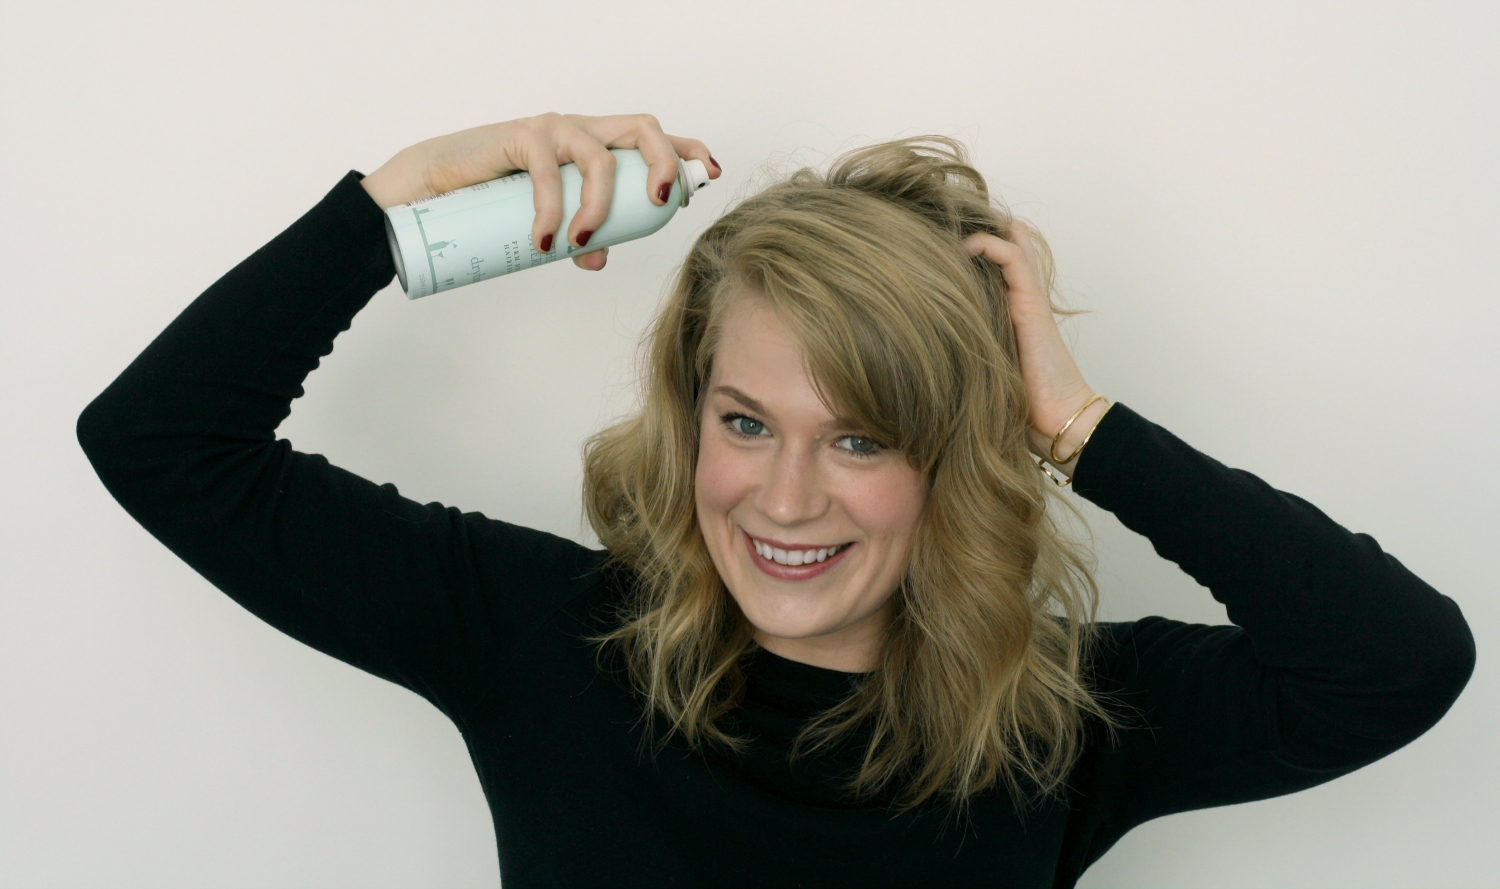
6. Finish with hairspray to lock the style in place – I love the combination of The Drybar’s Sparkling Soda Shine Mist + The Sheriff Firm Hold Hairspray to keep things smooth and sleek (plus they smell AMAZING)
And you’re done! Once you get the hang of things you’ll be able to quickly cruise through the curling wand process; the biggest thing to remember is twist hair BACK around the curling wand (away from your face) and keep the tip of the curling wand pointed down.
Fancy foolproof hair… there’s really nothing better!
Am I officially the last person to master the curling wand? Anyone else have zero skills in the hairstyling department?

